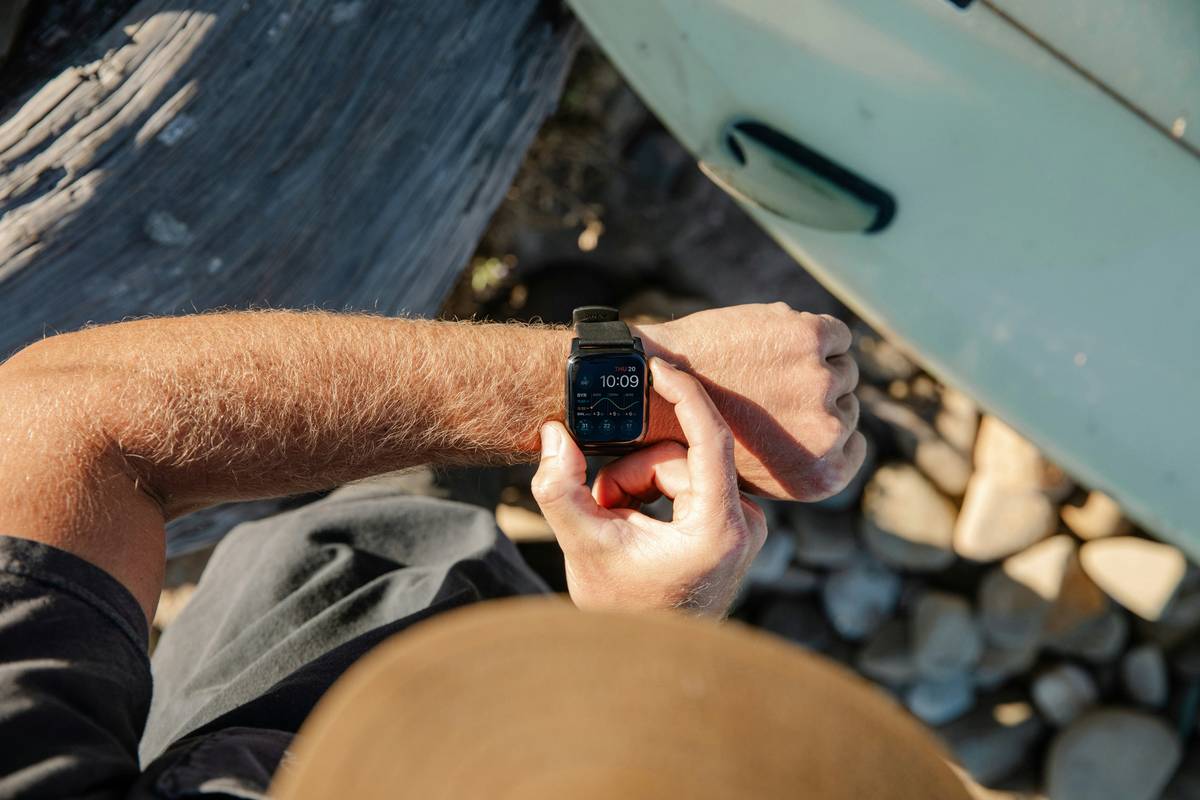
Ever stared at your wristwatch’s altimeter while gasping for air on a steep trail, only to wonder if you’re actually gaining elevation—or just chasing ghosts? You’re not alone. Many hikers trust their wearable tech implicitly, unaware that raw altimeter readings can mislead without proper context. In this guide, we’ll walk you through the smart, human-tested way to interpret altimeter data while hiking—so you stay safe, efficient, and never take a wrong turn because your watch lied to you.
Table of Contents
- Why Altimeter Data Matters on the Trail
- Step-by-Step Guide to Accurate Interpretation
- 5 Best Practices for Reliable Readings
- Real-World Examples That Changed Outcomes
- Frequently Asked Questions
Key Takeaways
- Barometric altimeters measure air pressure—not GPS—and require calibration.
- Weather changes can skew elevation readings by hundreds of feet.
- Always cross-reference with topographic maps or known landmarks.
- Calibrate before each hike using a verified starting elevation.
- Don’t rely solely on your watch; combine tools for trustworthy navigation.
Why Altimeter Data Matters on the Trail
In wearable technology, the altimeter is one of the most misunderstood sensors. Unlike GPS—which tracks location via satellites—a barometric altimeter estimates elevation based on atmospheric pressure. That sounds precise, but here’s the catch: air pressure shifts with weather systems, not just altitude. A passing storm can make your watch think you’ve descended 300 feet when you’re standing still.
I learned this the hard way on a solo trek in the White Mountains. My altimeter showed I’d gained 1,200 feet—but the summit marker was still out of sight. Confused, I kept climbing… only to realize I’d misread my watch because I hadn’t recalibrated it after a front moved in overnight. I wasted an hour and nearly ran out of water. That mistake taught me: interpreting altimeter data while hiking isn’t about reading numbers—it’s about understanding context.
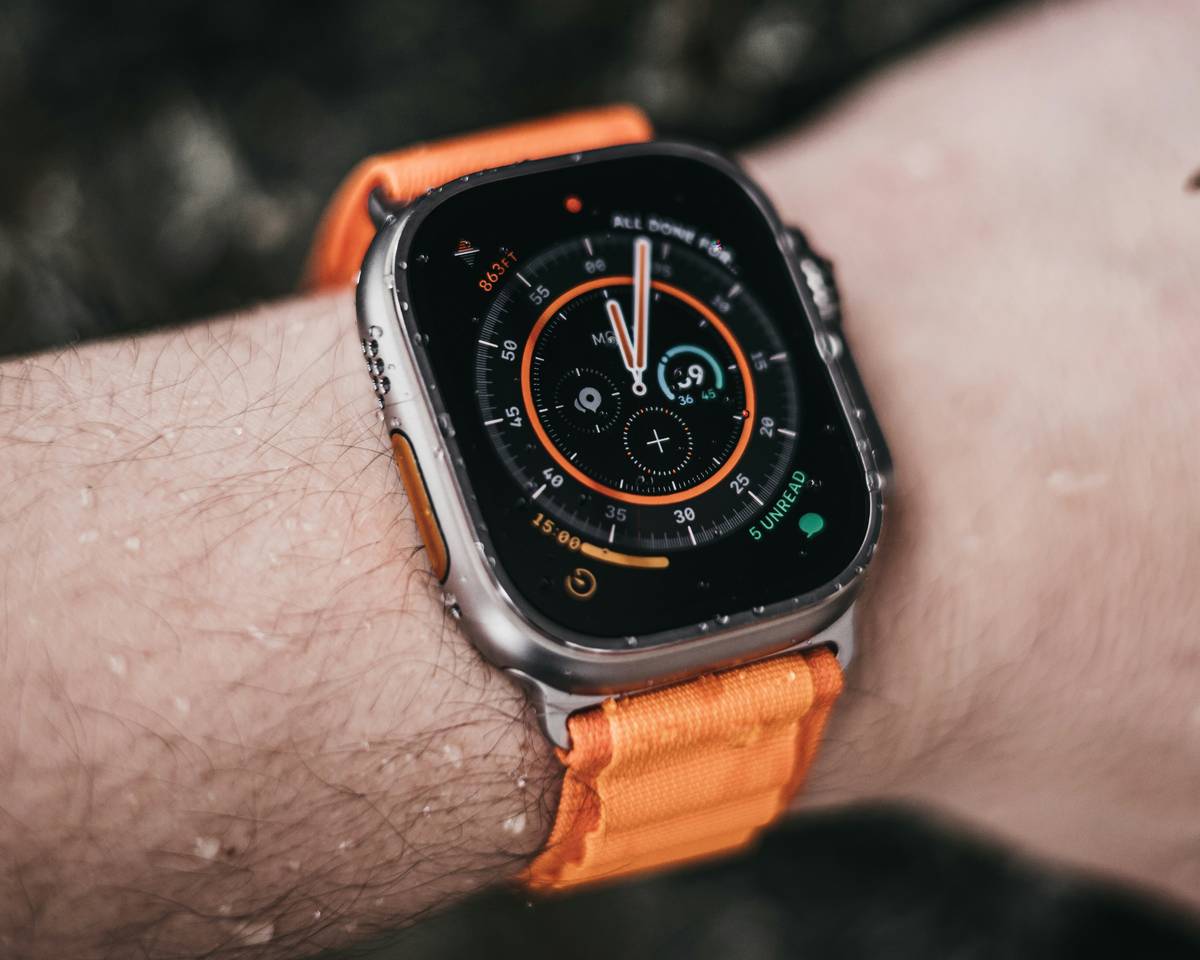
Step-by-Step Guide to Accurate Interpretation
1. Calibrate Before You Start
Use a known elevation point (trailhead sign, USGS benchmark, or topo map) to set your baseline. Most watches let you manually input starting elevation—do this every time.
2. Monitor Weather Trends
Check forecasts from authoritative sources like the National Weather Service. Falling pressure often mimics ascent; rising pressure mimics descent—even if you’re stationary.
3. Cross-Reference with Maps
Pull up a topographic map on your phone or paper chart. Match contour lines with your current altimeter reading. If they don’t align within ~50 feet, suspect drift.
4. Track Relative Changes, Not Absolute Numbers
Once calibrated, focus on elevation gain/loss between points—not the raw number. This minimizes weather-induced error.
5. Re-Calibrate at Verified Points
If you pass a known summit or lake with published elevation, reset your altimeter mid-hike for renewed accuracy.
5 Best Practices for Reliable Readings
- Never trust factory defaults: Your watch doesn’t know local sea-level pressure.
- Avoid “auto-calibrate” overreliance: GPS-based auto-correction can lag or fail under tree cover.
- Wear your watch exposed: Jackets or sleeves can trap air and distort pressure readings.
- Log data for post-hike review: Apps like Garmin Connect or Suunto allow trend analysis to spot inconsistencies.
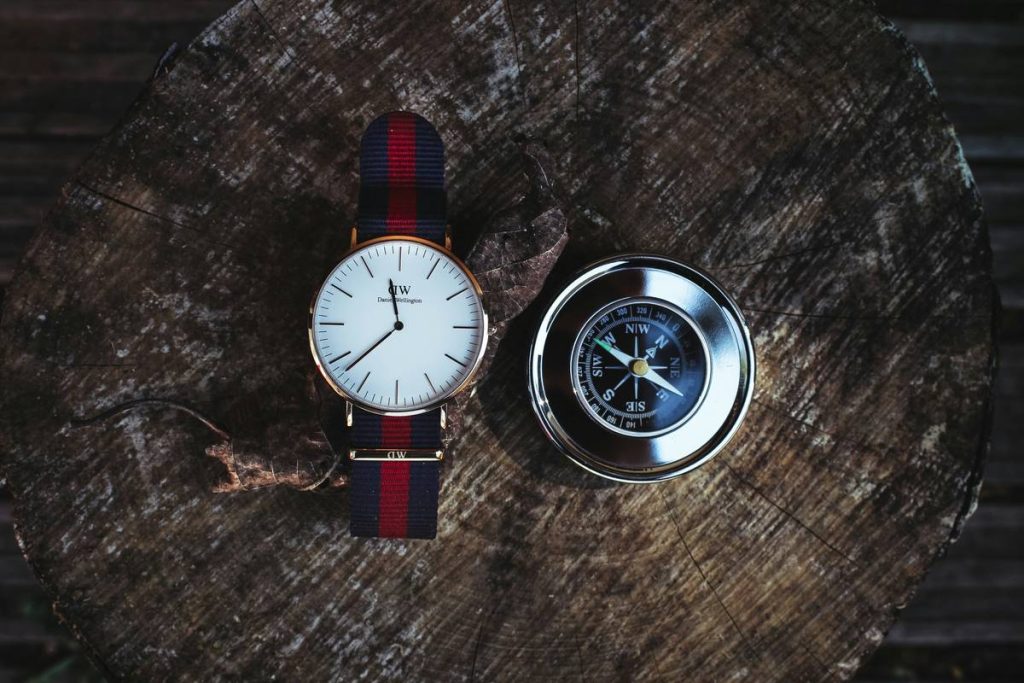
- Combine with compass and map: Tech aids navigation—but only when paired with traditional skills. For more on our philosophy, see our About Us page.
Real-World Examples That Changed Outcomes
In a 2022 study by the University of Colorado’s Outdoor Recreation Program, hikers using uncalibrated altimeters deviated from intended routes 38% more often than those who cross-referenced with maps (source). One participant thought he’d summited but was actually 800 feet below—leading to a night bivouac due to missed descent timing.
Conversely, during a Pacific Crest Trail thru-hike, another adventurer used disciplined altimeter interpretation while hiking to navigate dense fog in the Sierra Nevada. By recalibrating at each named lake (elevations published by the US Forest Service), he maintained course without GPS signal for three days—proving that smart analog-digital fusion wins.
Frequently Asked Questions
Can I use my smartphone altimeter instead of a watch?
Smartphones use similar barometric sensors but are less rugged and drain battery faster. Watches offer dedicated, always-on tracking ideal for long hikes.
How often should I calibrate my altimeter?
At minimum: before each hike. Ideally: whenever you reach a landmark with known elevation.
Does temperature affect altimeter accuracy?
Indirectly—extreme cold can impact sensor performance, but pressure changes from weather are the primary concern.
What’s the biggest mistake hikers make with altimeters?
Assuming the number is “true” without context. Altimeters show trends, not absolute truth—unless calibrated.
Are all watch altimeters equally reliable?
No. Premium models (Garmin Fenix, Suunto 9, Coros Vertix) offer better sensor fusion and calibration tools than budget fitness trackers.
Is interpreting altimeter data while hiking necessary for casual walks?
Not usually—but for any off-trail, high-elevation, or low-visibility hike, it’s a critical safety skill.
Misreading your altimeter won’t just cost you time—it can put you in real danger. But with calibration, context, and cross-checking, that tiny sensor becomes a powerful ally. Ready to upgrade your wilderness navigation? We’d love to hear your story—contact us anytime. And remember: in the mountains, humility beats hubris every time. (Also, check our Privacy Policy if you share personal trek data with us.)